

Air hockey tables are a great way to have fun with friends and family, but what happens when something goes wrong? Broken air hockey tables can be frustrating, but fortunately, many issues can be fixed with a little know-how. From broken outlets to damaged power cords, several common issues can be the culprit behind a malfunctioning air hockey table.
To get started, it’s important to have a basic understanding of how air hockey tables work. Air hockey tables use a powerful fan to create a cushion of air that allows the puck to glide smoothly across the surface. If the fan isn’t working properly or the surface is damaged, the puck may not move as it should. By following a few simple steps, you can troubleshoot and fix many common air hockey table issues on your own.
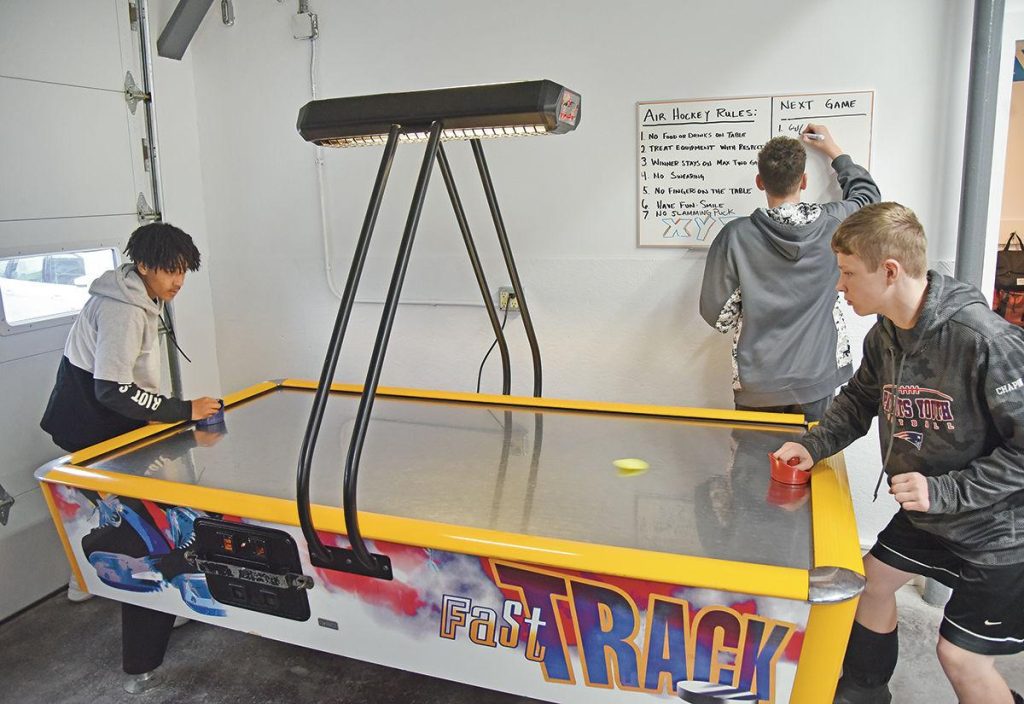
Identifying Common Air Hockey Table Issues
Air hockey tables are an excellent addition to any game room or entertainment area, providing hours of fun for players of all ages. However, like any other piece of equipment, they can develop issues over time. Recognizing these problems early on is essential to prevent further damage and ensure that your table continues to function correctly. Here are some common air hockey table issues to look out for:
Recognizing Dead Spots
Dead spots are areas on the table where the puck stops moving, making the game less enjoyable. They are usually caused by a buildup of dust, dirt, or debris on the surface. To fix dead spots on an air hockey table, the player should clean the table thoroughly. Use a soft cloth to wipe the surface and remove any dirt or debris. If the issue persists, the player may need to use a sanding block to even out the surface.
Detecting Fan and Air Flow Problems
The fan and airflow system are crucial components of an air hockey table. If they are not working correctly, the puck will not glide smoothly across the surface. One common issue is a clogged air filter. If the table has a filter, remove it and clean or replace it before the debris can clog up the table’s air system. If the air system lacks the filter component, spray an air compressor into the motor to clean out the dust. Wipe off the motor with a microfiber cloth. If the fan system does not work correctly, the player needs to check the motor so that the table can be powered again.
Noticing Surface Cracks and Damage
Surface cracks and damage can occur due to various reasons, such as accidental impacts or improper use. If the table has surface cracks or damage, the player should repair them as soon as possible to prevent further damage. If the damage is minor, the player can use epoxy or other adhesive to fill in the cracks. However, if the damage is significant, the player may need to replace the table’s surface altogether.
In conclusion, identifying common air hockey table issues is crucial to keeping the table in good condition and ensuring that it continues to provide endless hours of fun. By recognizing dead spots, detecting fan and airflow problems, and noticing surface cracks and damage, players can address these issues before they worsen.
Troubleshooting and Repairing the Fan
Air hockey tables rely on a fan to create a cushion of air that allows the puck to glide smoothly across the playing surface. If the fan is not working properly, the game can become frustrating and unplayable. Troubleshooting and repairing the fan is a critical part of maintaining an air hockey table.
Assessing Fan Functionality
The first step in troubleshooting the fan is to determine whether it is working at all. If the puck is not moving smoothly across the table, the fan may be malfunctioning or not working at all. To assess the functionality of the fan, it is recommended to turn the table on and listen to the sound of the fan. If the fan is not making any noise, likely, that it is not working. Another way to check the fan is to place a piece of paper on the table and see if it moves. If the paper does not move, the fan is not working.
Replacing or Repairing the Fan Motor
If the fan is not working, it may be necessary to replace or repair the fan motor. Before doing so, it is important to consult the manufacturer’s instructions for the air hockey table to ensure that the fan motor is compatible with the table. It is also important to turn off the power to the table before attempting any repairs.
Replacing the fan motor involves removing the old motor and installing a new one. It is important to ensure that the new motor is properly aligned and secured in place. It may also be necessary to replace the fan blades if they are damaged or worn.
In some cases, it may be possible to repair the fan motor rather than replace it. This involves disassembling the motor and replacing any damaged or worn parts. It is important to have a basic understanding of electrical components and wiring before attempting any repairs.
In conclusion, troubleshooting and repairing the fan motor is an essential part of maintaining an air hockey table. By following the manufacturer’s instructions and taking the necessary precautions, it is possible to keep the fan running smoothly and ensure that the game remains enjoyable for all players.
Fixing Dead Spots on the Playfield
Air hockey is a fast-paced and exciting game that requires a smooth and even playing surface. Dead spots can seriously affect gameplay, causing the puck to slow down or stop altogether. Fortunately, dead spots on an air hockey table can be repaired with a few simple steps.
Identifying the Cause of Dead Spots
Before attempting to fix dead spots on an air hockey table, it is important to identify the cause. Dead spots can be caused by a variety of factors, including dusty playing surfaces, clogged holes, uneven floors, and not maintaining the table properly.
One possible cause of dead spots is a buildup of dust and debris on the playing surface. To fix this problem, the playing surface should be cleaned thoroughly with a soft cloth or a vacuum cleaner. If the holes on the playing surface are clogged, they should be cleared with a pin or other sharp object.
Another possible cause of dead spots is an uneven floor. If the floor is not level, it can cause the airflow to be disrupted, resulting in dead spots on the playing surface. If this is the case, the table should be moved to a level surface or shims should be used to level the table.
Restoring Air Flow to Dead Spots
Once the cause of dead spots has been identified and addressed, the next step is to restore airflow to the affected areas. One way to do this is to use a coin to create more friction at the dead spot. A metal coin, such as a penny or dime, can be carefully used to add increased friction to that small area.
To use this method, turn the table on, place the puck in the affected area, and make sure it does not slip. If it seems too difficult to control, continue granting additional friction using the coin until the desired result is achieved.
Another way to restore airflow to dead spots is to adjust the blower. If the blower is not functioning properly, it can cause dead spots on the playing surface. To fix this problem, the blower should be adjusted or replaced if necessary.
In conclusion, dead spots on an air hockey table can be frustrating, but they are not impossible to fix. By identifying the cause of dead spots and restoring airflow to the affected areas, players can enjoy a smooth and even playing surface that allows for fast-paced and exciting gameplay.
Repairing Surface Cracks and Cosmetic Damage
Assessing the Extent of Surface Damage
Before starting the repair process, it is important to assess the extent of surface damage on the air hockey table. This will help determine the type of repair technique to be used. Surface damage can range from minor scratches and scuffs to deep cracks and chips.
Minor surface damage can be easily fixed with a simple sanding and polishing technique. However, deep cracks and chips require more advanced repair techniques.
To assess the extent of surface damage, the user should carefully inspect the table surface and note the location and size of the damage. They should also determine whether the damage is cosmetic or structural. Cosmetic damage refers to damage that affects the appearance of the table, while structural damage affects the functionality of the table.
Implementing Surface Repair Techniques
Once the extent of the surface damage has been assessed, the user can implement the appropriate repair technique. For minor scratches and scuffs, the user can use fine-grit sandpaper to smooth out the surface and then polish it with a polishing compound.
For deeper cracks and chips, the user can use a wood filler or epoxy resin to fill in the damaged area. They should first clean the damaged area and then apply the filler or resin according to the manufacturer’s instructions. After the filler or resin has dried, the user can sand the surface smooth and then polish it with a polishing compound.
It is important to note that the repair technique used should match the material of the air hockey table. For example, if the table is made of wood, the user should use a wood filler or epoxy resin. If the table is made of plastic, the user should use a plastic filler or epoxy resin.
In conclusion, repairing surface cracks and cosmetic damage on an air hockey table requires careful assessment of the extent of damage and implementation of appropriate repair techniques. With the right tools and techniques, the user can restore the table surface to its original condition and ensure that it functions properly.
Maintaining Your Air Hockey Table
Regular Cleaning and Upkeep
To keep your air hockey table in good condition, it is important to clean it regularly. This will help to prevent any build-up of dirt, dust, or debris that could interfere with the airflow and cause damage to the table. A soft cloth or microfiber towel is ideal for cleaning the surface of the table. Be sure to avoid using harsh chemicals or abrasive materials that could scratch or damage the playing surface.
In addition to regular cleaning of air hockey, it is also important to keep the air hockey table well-maintained. This includes checking the motor and blower periodically to ensure that they are functioning properly. If you notice any unusual noises or a decrease in airflow, it may be time to replace the motor or blower.
Preventative Measures to Avoid Future Damage
To avoid future damage to your air hockey table, there are several preventative measures you can take. One of the most important is to keep the table covered when it is not in use. This will help to protect the playing surface from dust, dirt, and other debris that could cause damage.
Another important preventative measure is to avoid placing heavy objects on the table. This could cause the playing surface to warp or become damaged, which could affect the airflow and the overall performance of the table.
Finally, it is important to store your air hockey table in a dry, climate-controlled environment. This will help to prevent warping or damage to the playing surface that could affect the performance of the table. By following these simple maintenance and preventative measures, you can help to ensure that your air hockey table remains in good condition for years to come.
Frequently Asked Questions
What steps should be taken to repair a score sensor failure on an air hockey table?
If the score sensor on an air hockey table fails, there are a few steps that can be taken to repair it. First, check the connections between the sensor and the scoreboard to make sure they are secure. If the connections are good, try cleaning the sensor with a dry cloth to remove any dust or debris that may be interfering with its function. If these steps do not resolve the issue, it may be necessary to replace the sensor entirely.
How can scratches be effectively removed from the surface of an air hockey table?
Scratches on the surface of an air hockey table can be unsightly and can also impact gameplay. To effectively remove scratches, first, clean the surface of the table with a mild detergent and water. Next, use a fine-grit sandpaper to gently sand the area with the scratch until it is smooth. Finally, apply a clear coat of epoxy resin to the sanded area, allow it to dry completely, and then buff the surface until it is smooth and shiny.
What are the typical causes for an air hockey table failing to blow air, and how can they be addressed?
An air hockey table may fail to blow air for a variety of reasons. The most common cause is a clogged air hole or a dirty fan. To address this issue, first, unplug the table and remove any debris from the air holes using a vacuum or compressed air. Next, clean the fan blades with a dry cloth or compressed air. If these steps do not resolve the issue, the fan may need to be replaced.
Is it possible to replace the fan of an air hockey table, and how would one go about it?
Yes, it is possible to replace the fan of an air hockey table. To do so, first, unplug the table and remove the screws that hold the fan in place. Next, carefully remove the fan and disconnect any wires that are attached to it. Finally, install the new fan and reattach any wires that were disconnected.
The Air Hockey Score Sensor not working how to fix it?
If the score sensor on an air hockey table is not working, first, check the connections between the sensor and the scoreboard to make sure they are secure. If the connections are good, try cleaning the sensor with a dry cloth to remove any dust or debris that may be interfering with its function. If these steps do not resolve the issue, it may be necessary to replace the sensor entirely.
What are common troubleshooting techniques for fixing MD Sports or Sportcraft air hockey table electrical issues?
Common troubleshooting techniques for fixing MD Sports or Sportcraft air hockey table electrical issues include checking the power cord for damage, examining the plug and socket to make sure they are securely connected, and checking the fuse or circuit breaker to make sure it has not been tripped. If these steps do not resolve the issue, it may be necessary to contact a professional for assistance.


